Виджет — это форма для оплаты контента, встроенная в сайт автора. Он подходит для самописных и CMS-сайтов.
💡 Как это работает: автор размещает кнопку оплаты на странице своего сайта и покупатель оформляет покупку на странице оплаты платформы, платеж обрабатывает платежный провайдер.
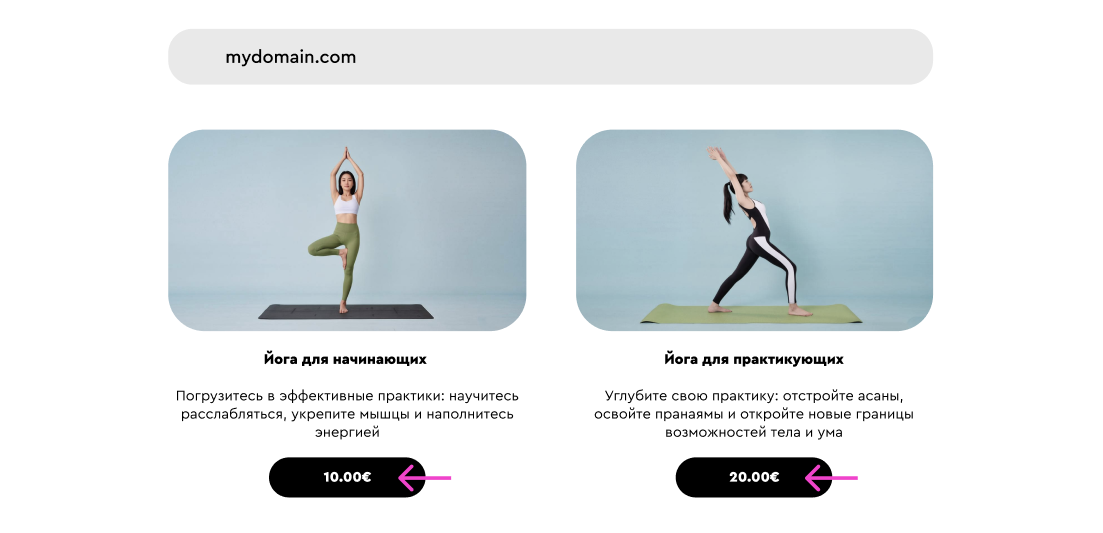
При этом виджет не подойдет, если вы планируете принимать оплаты через Telegram, для этого у нас есть API.
- Оплата в одном окне, без перехода на сторонние ссылки — клиент не потеряется среди сайтов.
- Оплата в пару кликов — увеличивается конверсия в оплату.
- Приём оплат в выбранной валюте, нет необходимости прописывать клиентам какую валюту выбрать — больше процент успешных оплат.
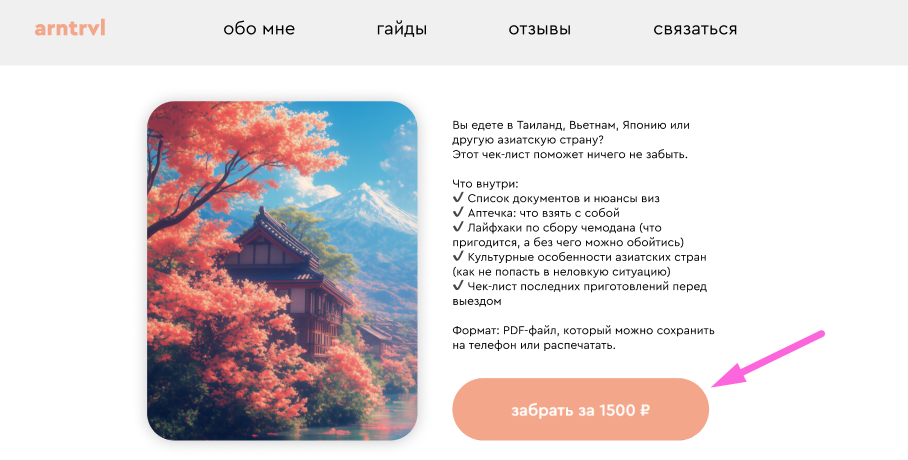
1. Клиент нажимает на кнопку оплаты на сайте автора.
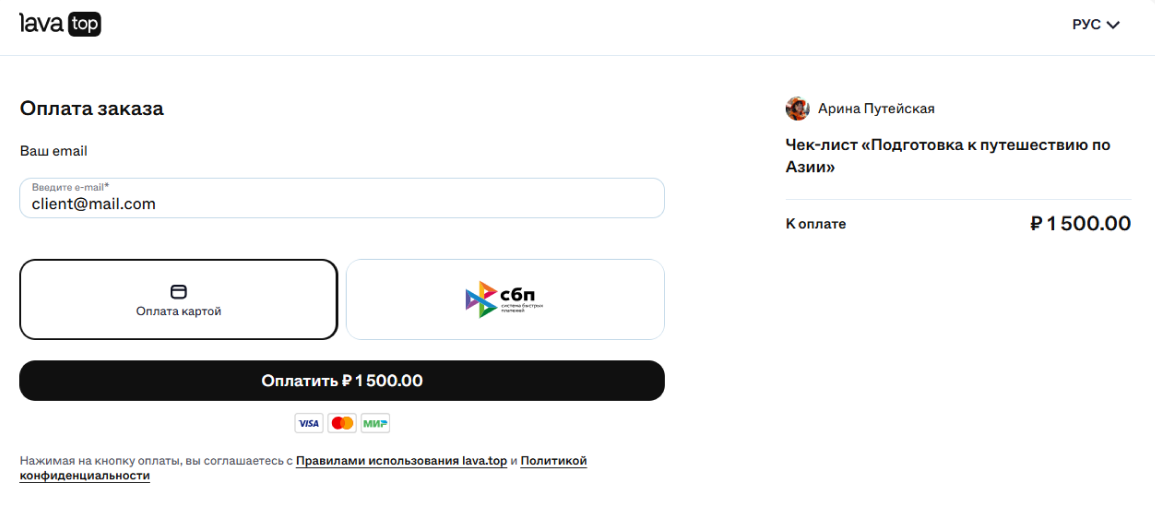
2. На платежной странице lava.top указывает e-mail и выбирает способ оплаты в зависимости от валюты: банковскую карту, СБП, PayPal или PIX.
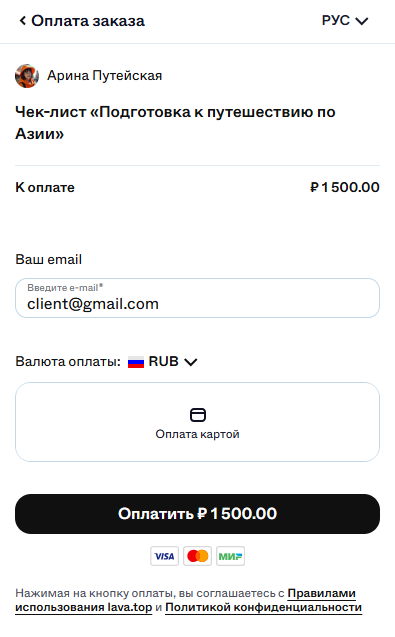
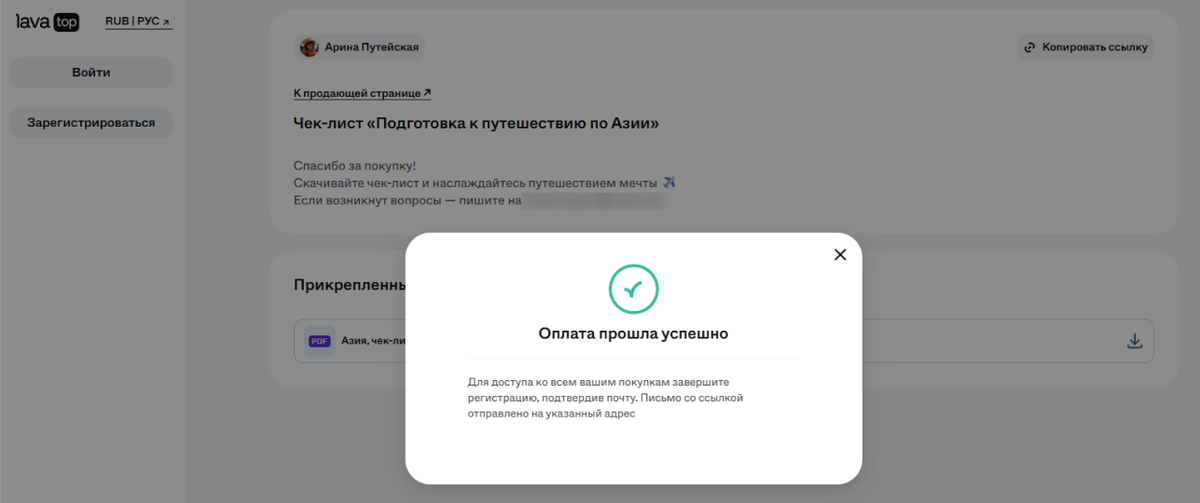
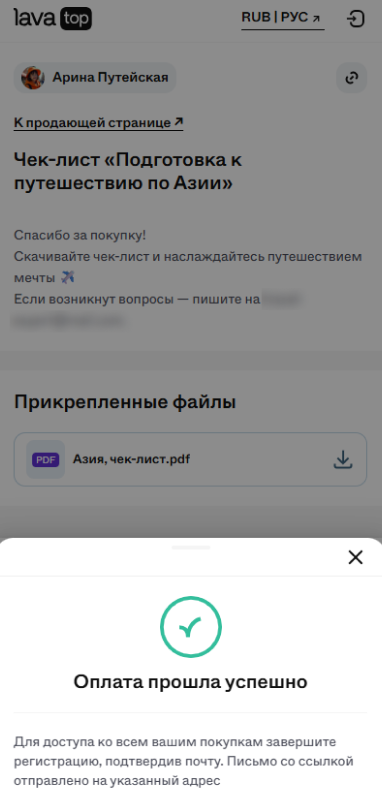
3. Вводит данные и подтверждает оплату. Сразу после ему открывается платная часть контента на lava.top.
1. Успешно пройти модерацию домена — сайта автора.
2. Настроить виджет и вставить код.
Модерация — это проверка сайта автора на соответствие правилам платформы. Виджет начнёт работать только после того, как домен успешно пройдёт модерацию.
Проверка занимает до 24 часов, обычно быстрее.
В первый раз — при настройке виджета через раздел «Интеграции». Когда вы выбираете домен для виджета, он автоматически уходит на модерацию.
Если у вас уже есть виджеты, но вы хотите добавить ещё один домен, это делается в разделе «Мои домены»:
- Перейдите в раздел «Мои домены» в личном кабинете.
2. Нажмите «Добавить домен».
3. Введите адрес сайта и отправьте на проверку.
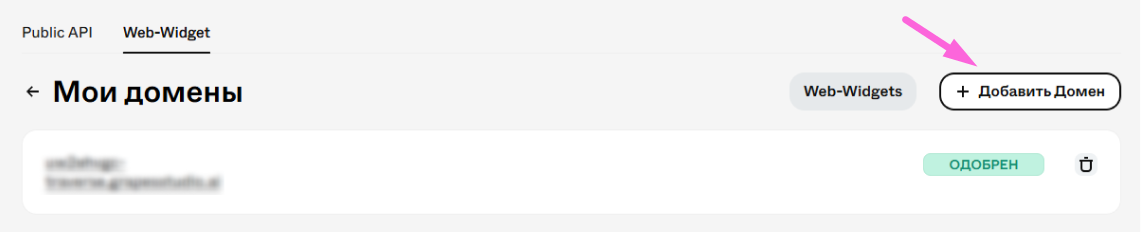
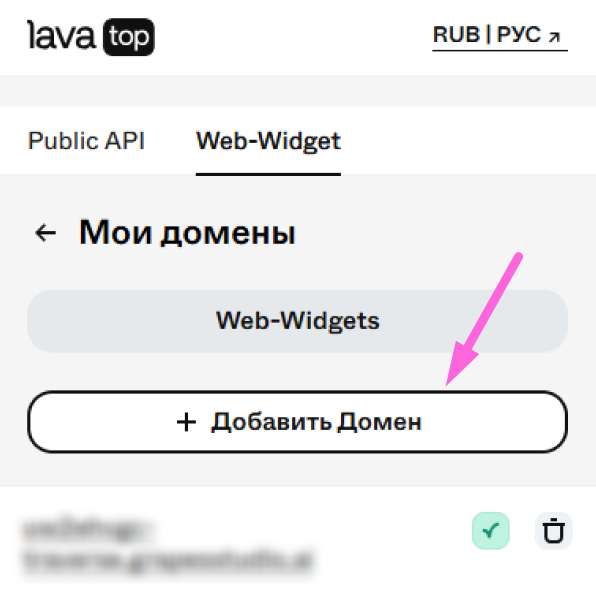
Домен уйдёт на модерацию. После успешной проверки его можно будет выбрать при создании виджетов.
- Качество контента:
- Соответствие правилам: домен и контент на нем не должны нарушать правила платформы (раздел 8 «Контент») — нельзя продавать, размещать или упоминать запрещенный контент.
- Оригинальность: контент должен быть авторским, уникальным.
- Актуальность: предложения, размещенные на сайте, должны быть актуальными.
- Наполненность: на сайте должна быть информация об авторе, его квалификации и контенте.
- Возрастные ограничения: для контента 18+ — страница с подтверждением возраста.
- Юридическая информация:
- Контакты: виджет для связи с автором.
- Документы: обязательно — пользовательское соглашение или оферта, дополнительно — политика возвратов и персональных данных.
Проверить статус модерации можно в разделе «Мои домены».
✅ «Одобрен» — домен прошёл проверку, можно размещать виджет с кнопкой покупки.
❌ «Отклонён» — домен не прошёл проверку. Причина указана рядом со статусом, а также придёт на почту. Нужно внести правки на сайте, а затем написать в поддержку и попросить проверить домен еще раз.
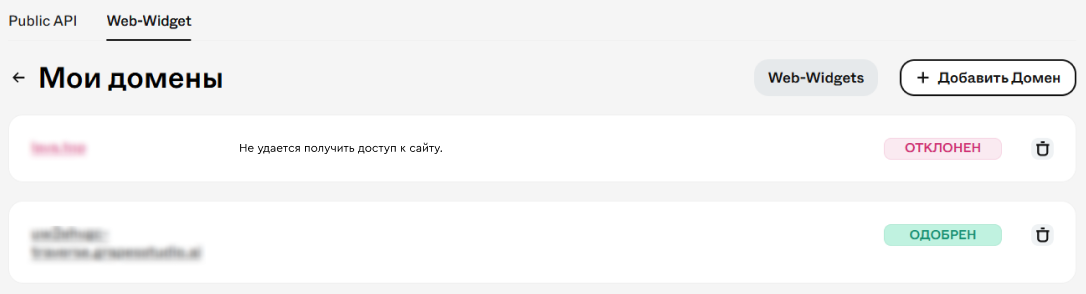
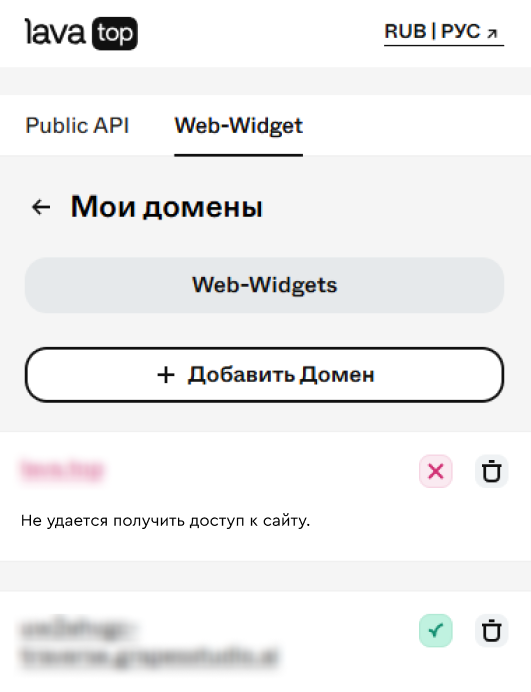
Сейчас есть два пути: через раздел «Интеграции» и через ленту продуктов.
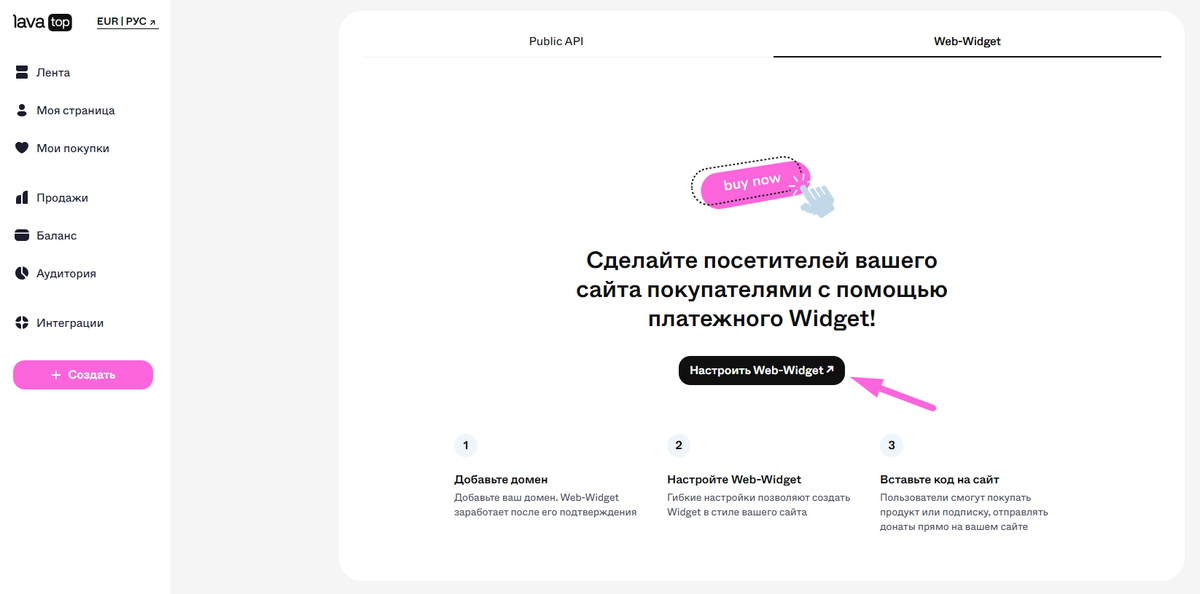
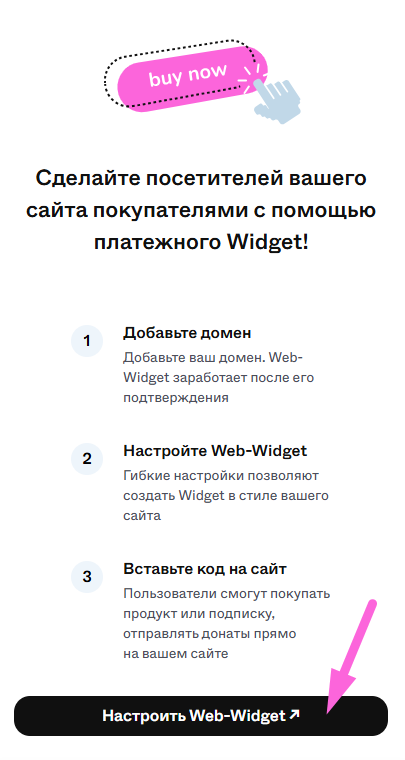
1. Откройте раздел и нажмите «Перейти» на плашке «Web-Widget».
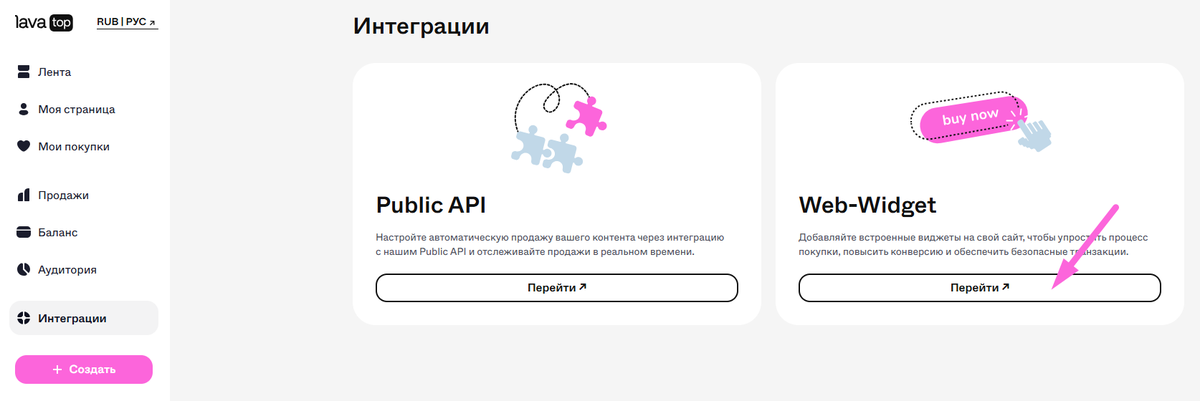
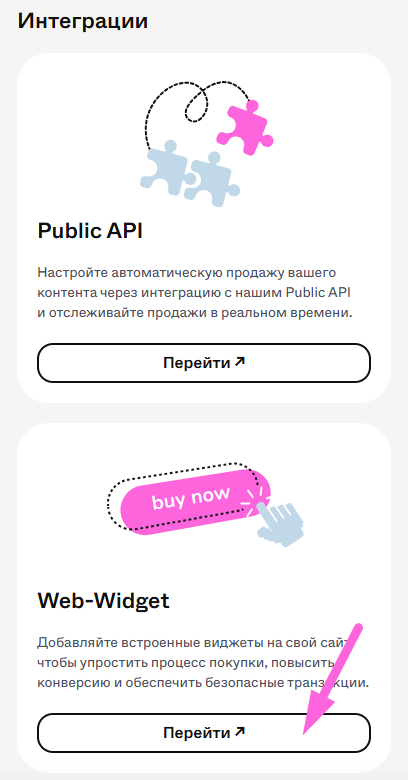
2. Нажмите «Настроить Web Widget».
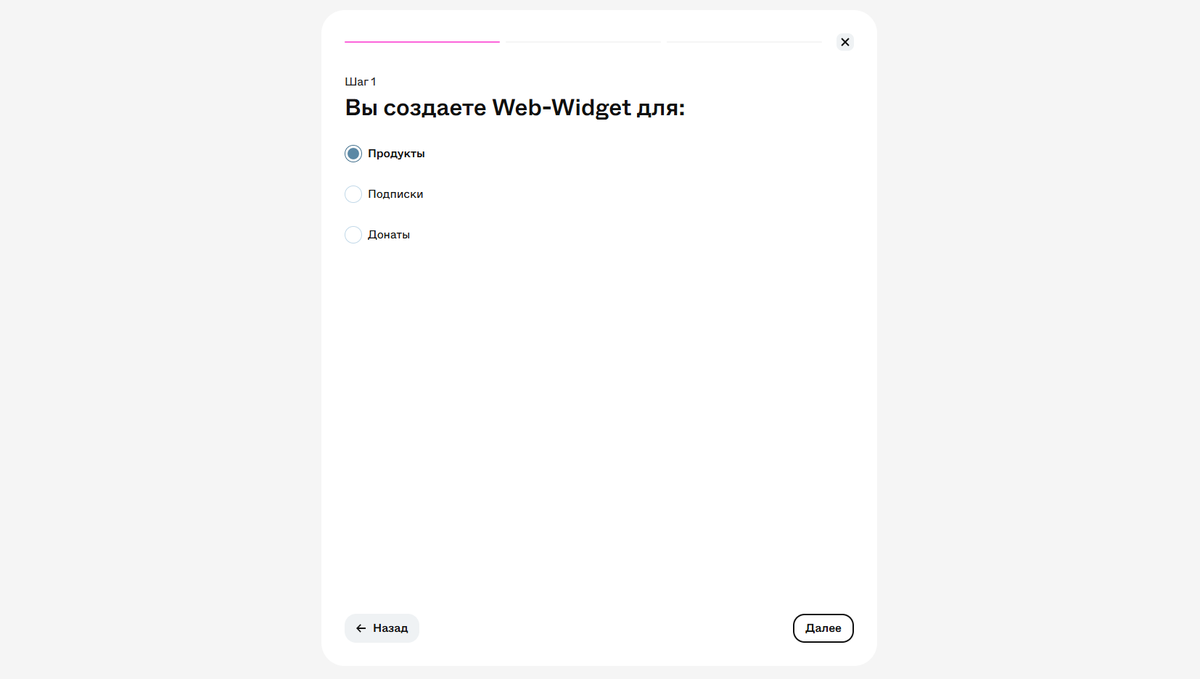
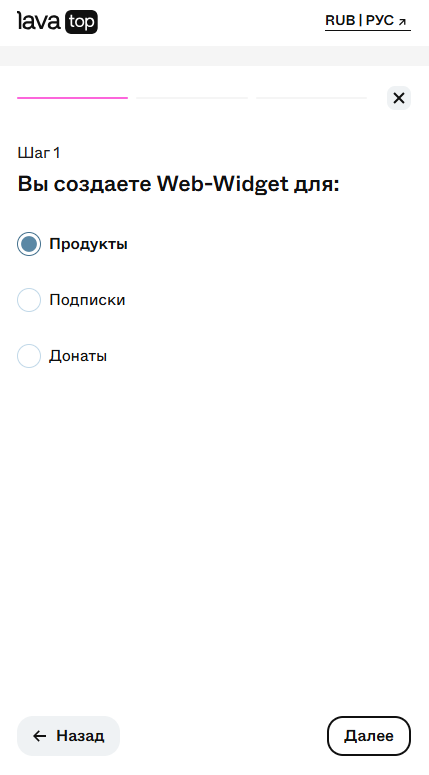
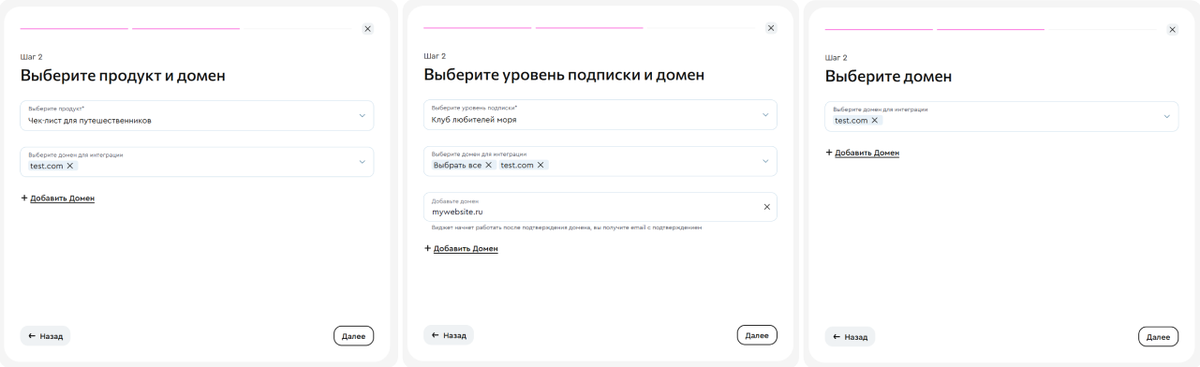
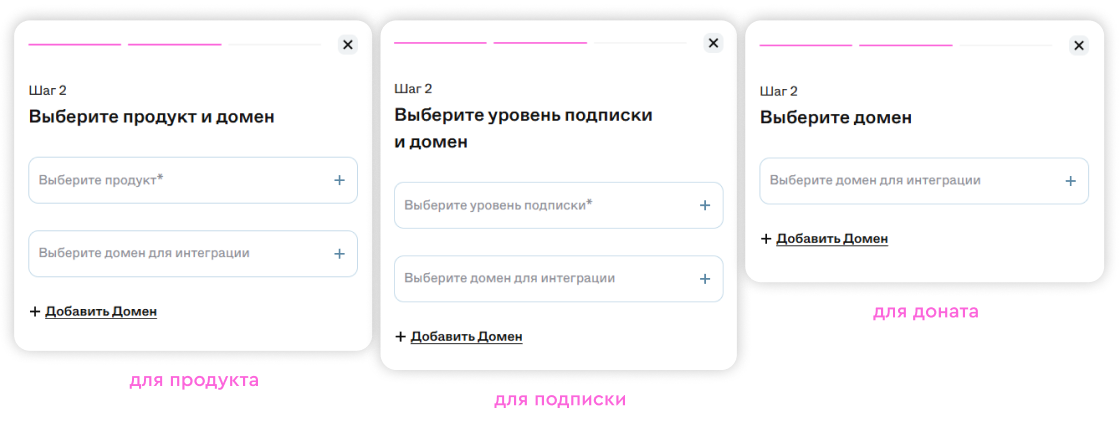
3. Выберите для какого типа контента нужен виджет: продукт, подписка или донат.
4. Дальше развилка:
- для продукта — выберите продукт, его тариф (если есть) и домен,
- для подписки — выберите уровень подписки и домен,
- для доната — только домен.
- Когда добавляете домен, он автоматически уходит на модерацию (до 24 часов).
- Можно добавить несколько доменов → размещать одну кнопку оплаты сразу на нескольких сайтах.
5. Настройте виджет — выберите то, как он будет выглядеть: цвет кнопки, ее длина, ширина и скругление, а также текст и его цвет.
Можно показать на кнопке цену в нужной валюте или оставить только текст.
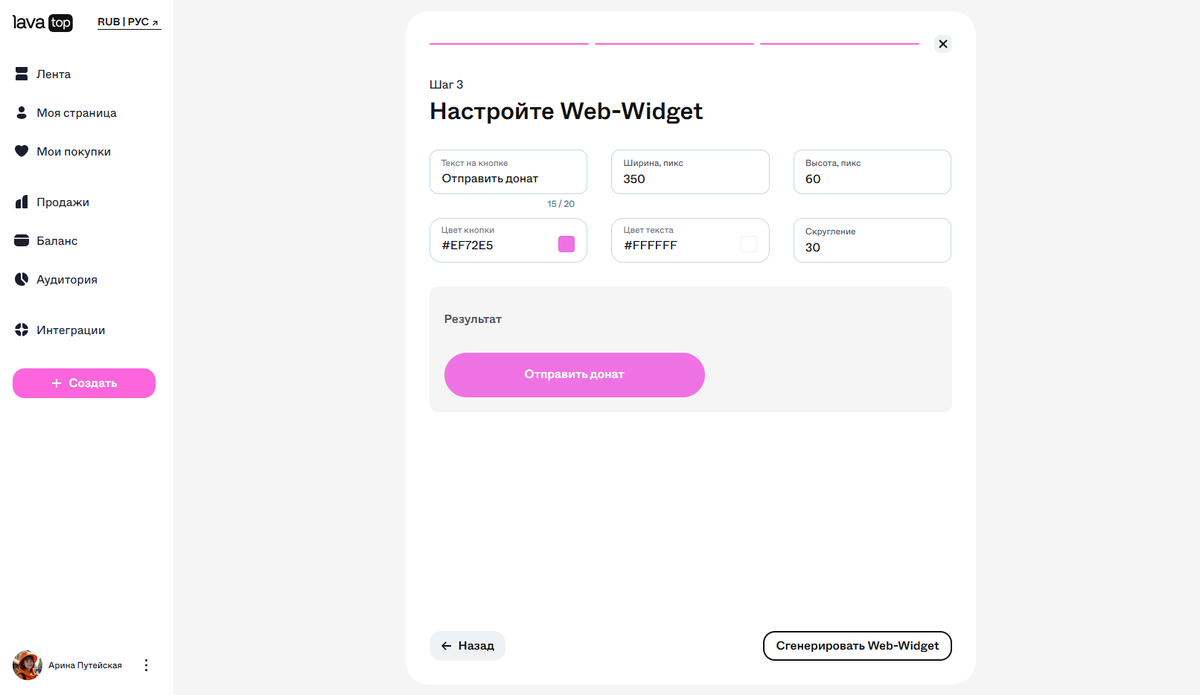
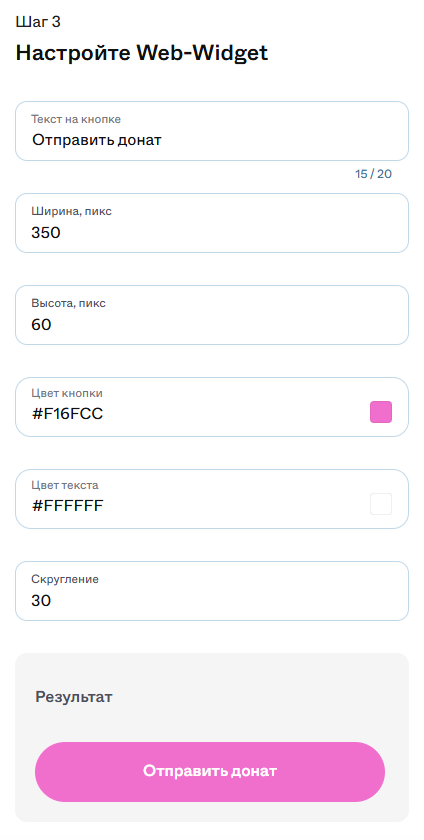
6. Нажмите «Сгенерировать Web-Widget» и скопируйте код.
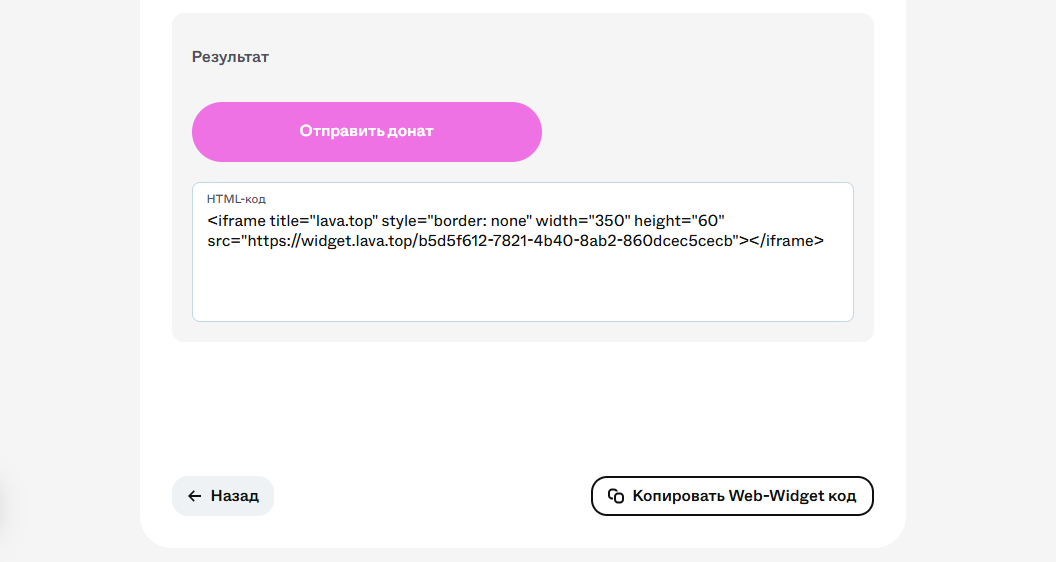
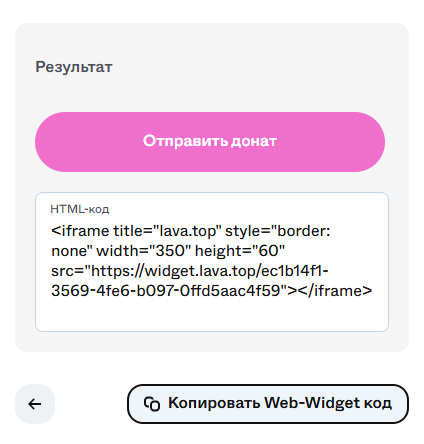
Готово! Можно вставить код на свой сайт. Виджет станет активен, когда домен успешно пройдет модерацию.
💡 Если вы собираете сайт в CMS, то подойдёт элемент «HTML-код».
1. Выберите пункт «Настроить виджет» в настройках контента: продукта, консультации, курса, подписки или доната.
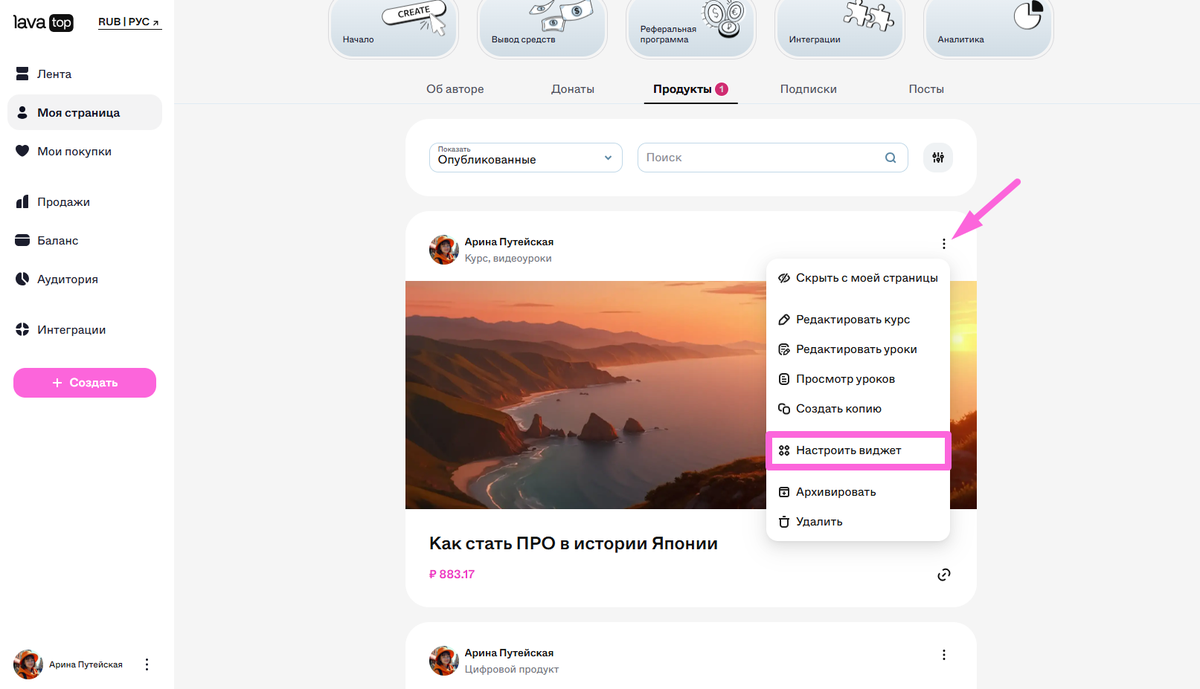
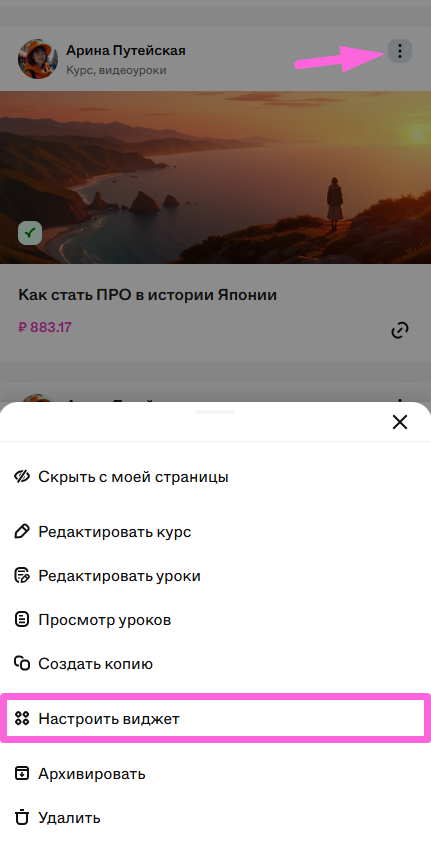
2. Выберите домен, задайте валюту, текст на кнопке и её визуальный стиль в настройках виджета.
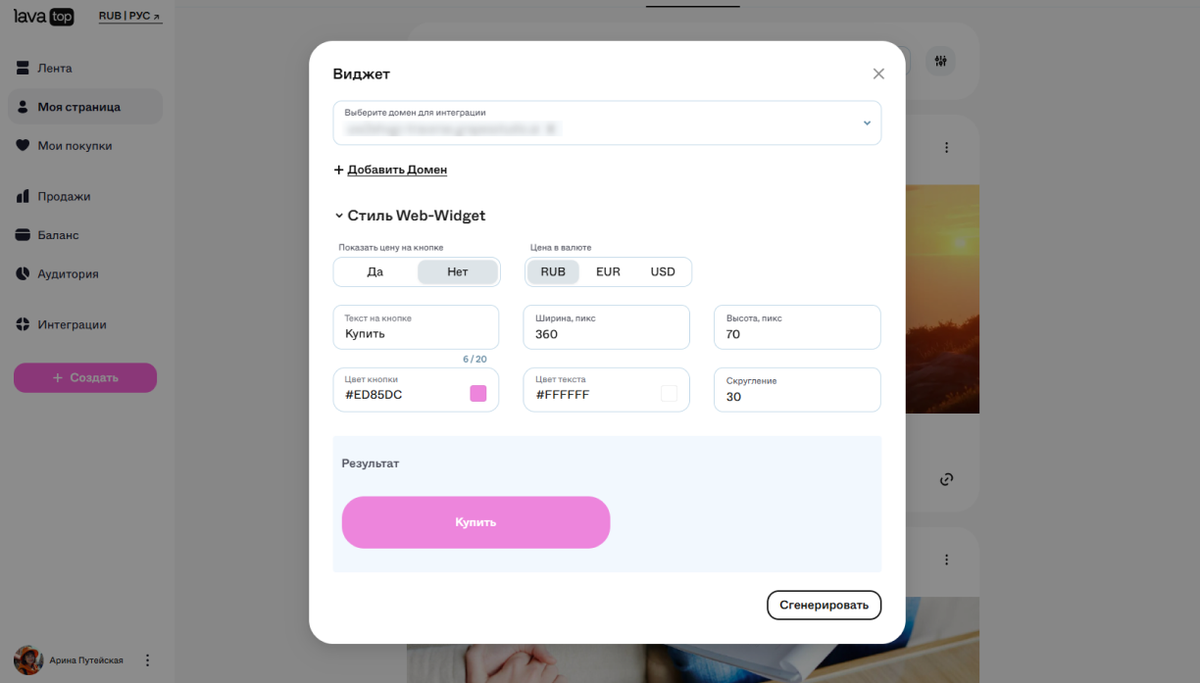
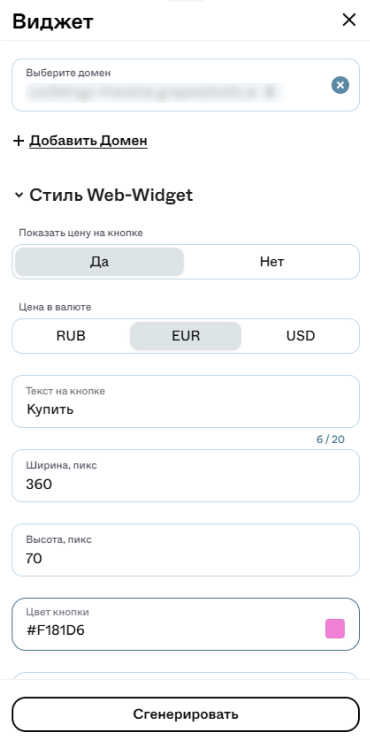
3. Нажмите «Сгенерировать виджет» и скопируйте код виджета.
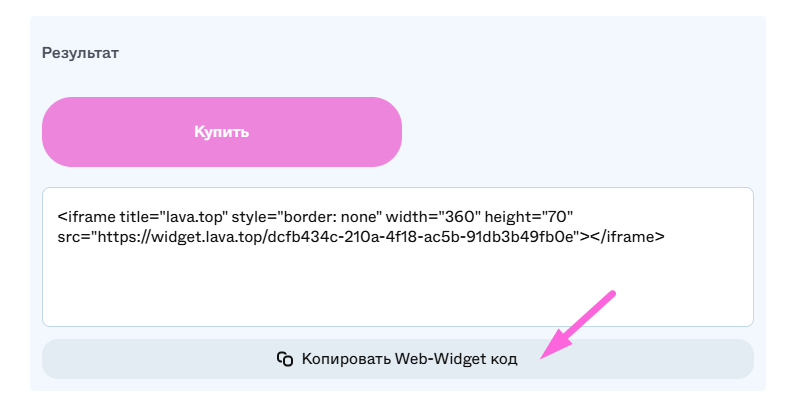
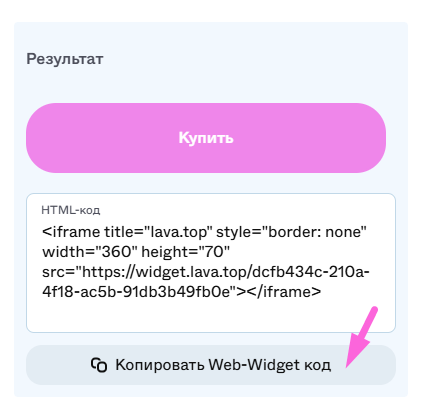
Готово! Вставьте код на свой сайт. Виджет станет активен после успешной модерации домена.
💡 Если вы собираете сайт в CMS, то подойдёт элемент «HTML-код».